Manual › LogScanner › Starting a scan
Starting a scan
The capture screen for a full log. Requires a device with a LiDAR sensor.
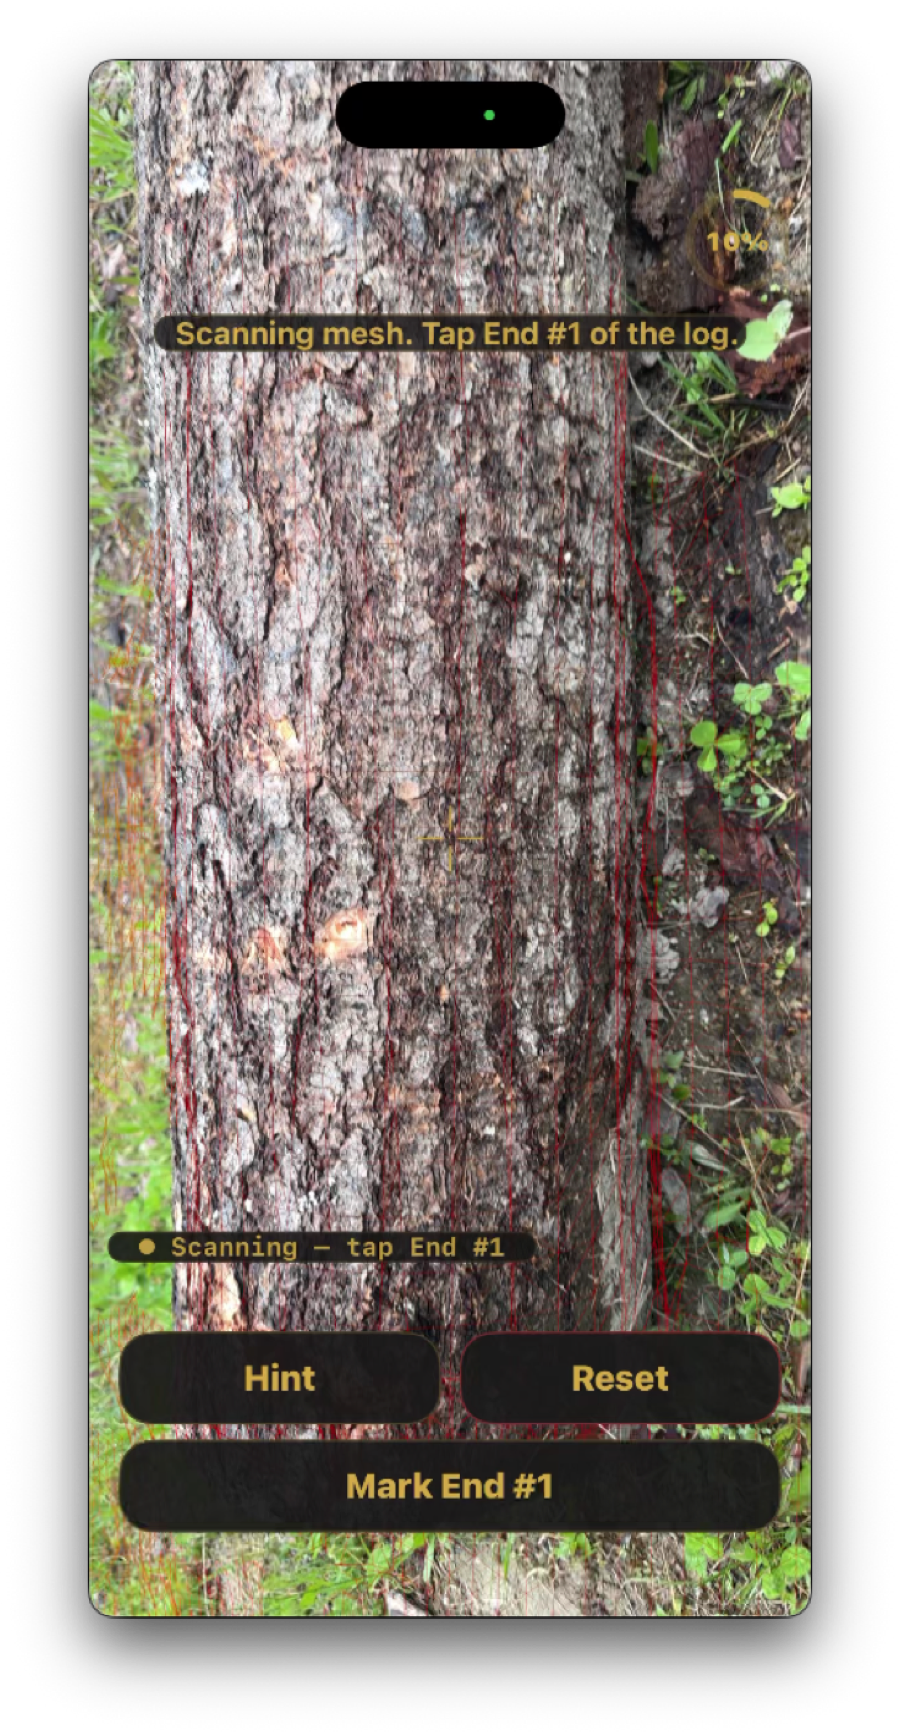
Log Scanning Mode — walking the first side. The coaching banner and the Hint / Reset / Mark End #1 buttons run along the bottom.
Controls
Controls
Element
Position
Description
Exit
top left
Leaves the capture screen without saving.
Status pill
top right
The tracker's state — Idle before capture begins, then updates through each phase (for example "Scanning End #1", "Refining").
Start Scan
bottom
Begins capture. Replaced by Hint and the relevant Mark End button once scanning starts.
Capturing
Capture runs in two passes — an initial walk that also captures both end faces, then a refining pass — followed by a two-step finish. The full sequence:
- Tap Log Scanning Mode on the Home screen.
- Remain still for three seconds while the AR view starts, then tap Start Scan.
- Standing at one end, walk the length of the log with the device held at 20–30° from the ground, capturing the side and bottom of that side as you walk.
- At the end of the log, begin capturing End #1: point the reticle at the centre of the log face and tap the screen.
- A green dashed reticle appears — enclose the end face in it and tap Done — End #1.
- Walk back down the opposite side of the log, again at 20–30° from the ground, capturing the other side and bottom on the way to End #2.
- At End #2, repeat the capture: reticle on the centre of the face, tap, enclose, tap Done — End #2.
- With both ends captured, aim the camera at the ground or the bunks the log is resting on and tap Confirm Background once a surface is detected.
- The refining scan starts — spray-paint around the end of the log where you are standing.
- Walk the length again, this time with the device pointed straight down, to capture the top of the log.
- At the other end, spray-paint around that end's barrel the same way.
- Tap Done Refining.
- Capture the reference image: position the device so the entire log is visible, then capture. The image is taken the moment capture is initiated, so aim it at the scanned log — it is kept for later reference.
- Adjust the end boundaries if prompted, then continue through Next / Continue until the scan finishes processing and the Log Profile Viewer opens.
"Spray-paint" describes a camera motion, not actual paint: move the device in small arcs around the end, as if you were spray-painting it with the camera. Every angle adds a LiDAR viewpoint, which produces a better diameter and rim profile.
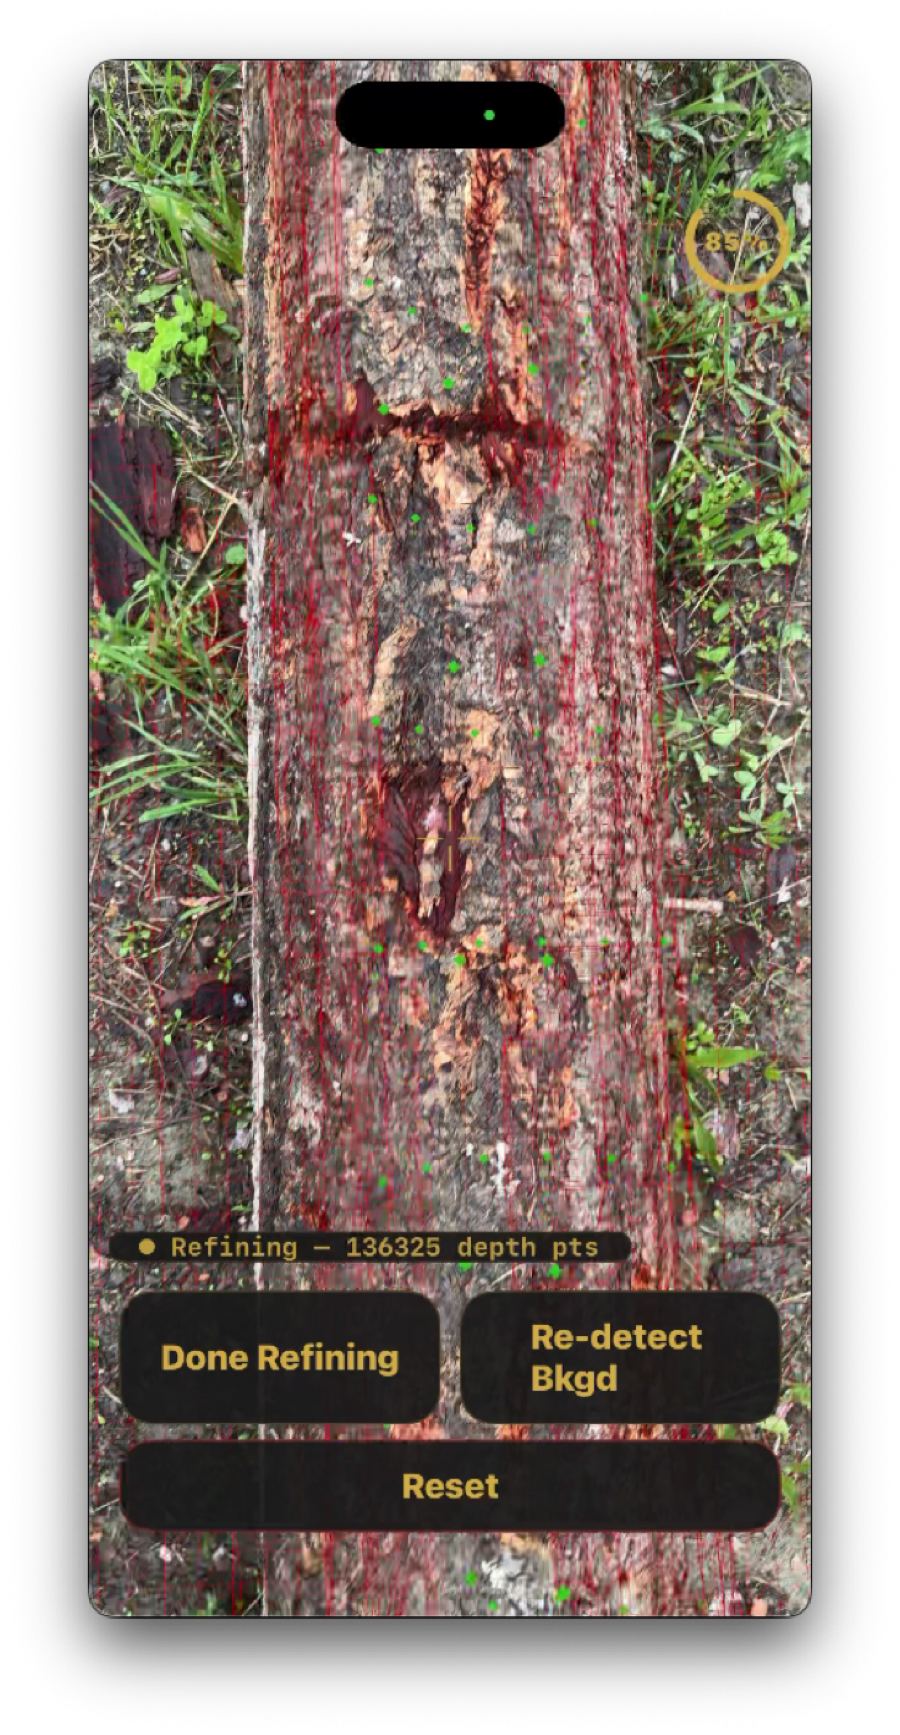
Refining — the live LiDAR wireframe overlays the log surface so you can see what has been captured. Buttons are Done Refining, Re-detect Bkgd, and Reset.
Screenshot needed
The reference-image capture screen and the boundary-review step of the two-step finish (steps 13–14 above). New in 1.6 — no existing capture.
Placeholder — reference image capture / two-step finish (new in 1.6)