Manual › Log Master › Starting a scan
Starting a scan
The capture screen for a full log. Requires a device with a LiDAR sensor.
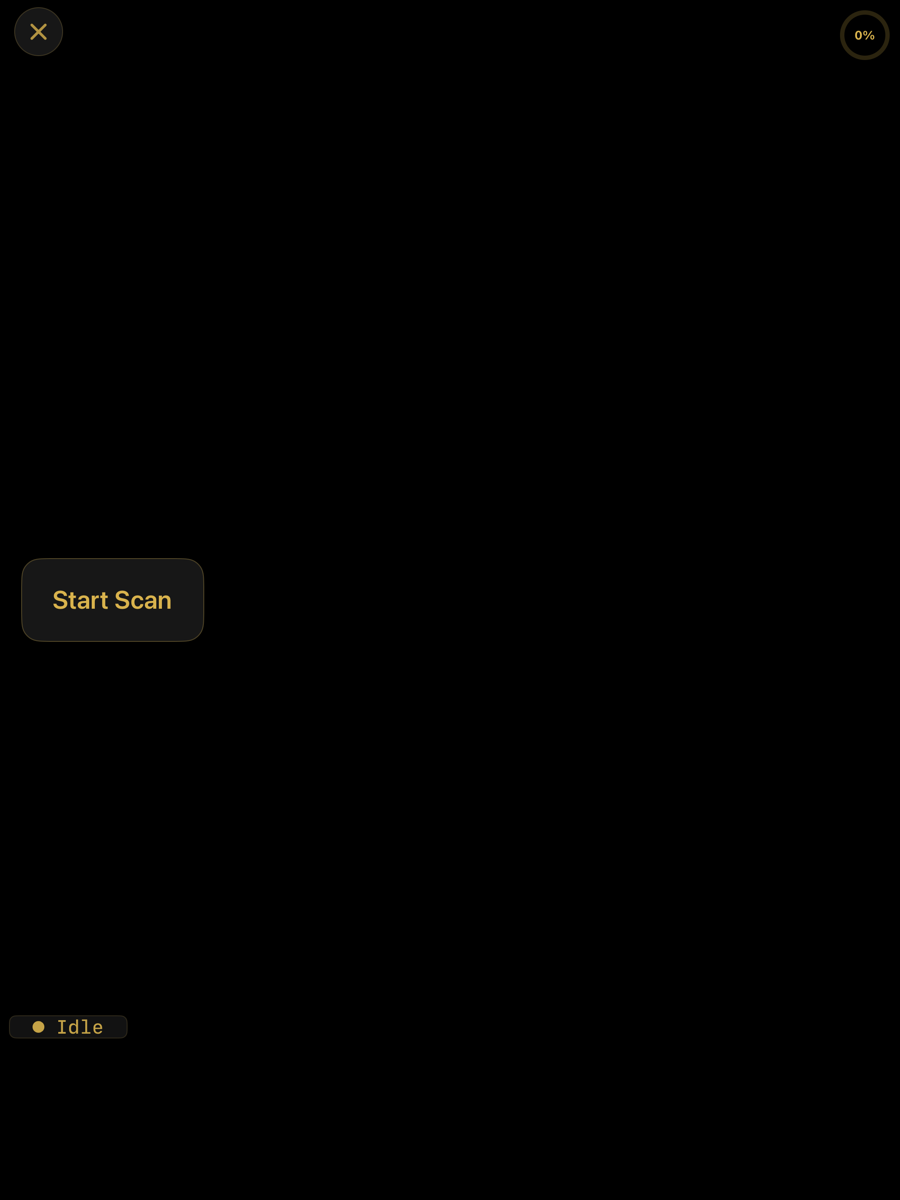
Log scanning — main menu › Log Scanning. The camera preview fills the screen; it appears black in this capture.
Controls
Controls
Element
Position
Description
Close
top left
Leaves the capture screen without saving.
Coverage
top right, 0 %
How much of the log has been captured so far.
Status
bottom left, Idle
The tracker's state. Idle before capture begins.
Start Scan
centre left
Begins capture. The same button ends it once capture is running.
Capturing
Capture runs in two stages. The length of the log is walked first, building the surface and the axis. The end faces are then photographed from where the operator is standing, without moving back down the log.
- Frame the log and tap Start Scan.
- Walk the length at a steady pace, keeping the log in view. Coverage rises as surface is captured.
- Finish at the log. Geometry is frozen at this point; tracking continues but no further surface is added.
- Capture the end faces from the framing position.
Geometry is frozen when capture is ended at the log, before the operator steps back to frame the photograph. Movement after that point cannot distort the measured shape.